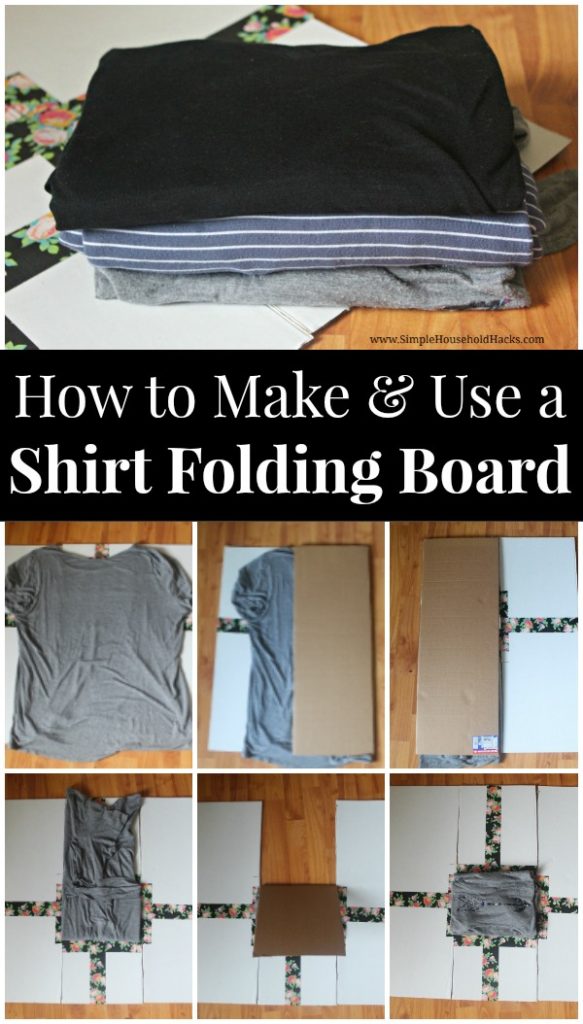
Learn How to Make a Shirt Folding Board so that your clothes are uniformly folded and keep your drawers and shelves neat and tidy.
Confession time: I am not great at folding laundry. I rush through it trying to get to the next thing on my list. My hubby, on the other hand, folds stacks that look like they came out of a robot folding machine when he helps. However, when I finally caught the Marie Kondo Bug and had a major purge and overhaul of the house it made my daily workload lighter.
The next thing I wanted to tackle: learning how to create uniformly folded shirts that can be stored neatly in drawers. I decided that a Shirt Folding Board would make this easier. I decided to create a simple cardboard device that will help not only me, but my kids, fold their clothes into uniform piles to keep our drawers and bins in line with the rest of the house. Using it to fold your clothes will ensure neat drawers where everything is folded to the same size and makes your dresser look like a mini Gap store.
How to Make a Shirt Folding Board
To make your own DIY Folding Board you will need an inexpensive tri-fold science board and some duct tape. You may be able to find these at a local Dollar store.
The way I came up with my sizing was by folding one shirt the way I wanted it then laying it on the uncut board, and marking where I wanted the folds to be. You can do the same if your sizes are much larger or much smaller than mine or you just like your clothing folded into a smaller size.
DIY Shirt Folding Board Tutorial
Supplies Needed:
- Tri-fold science board
- Duct Tape
- Razor knife
- A ruler
Directions:
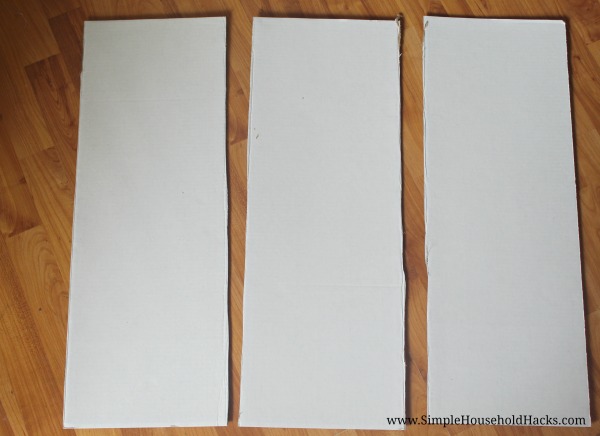
- Cut off one of the side folds.
- Fold the other side inward.
- Fold the cut side in over itself so that your board resembles a trifold pamphlet.
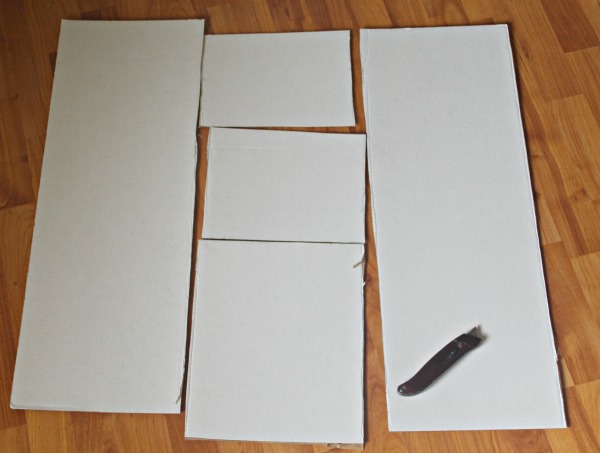
- Open the folds and cut along the fold, slicing the centerpiece out of the folds.
- Now cut your center section into thirds with the top two pieces being the same height and the bottom a bit larger, my board was 27″ tall so my pieces were 7 1/2, 7 1/2″, and 12″.
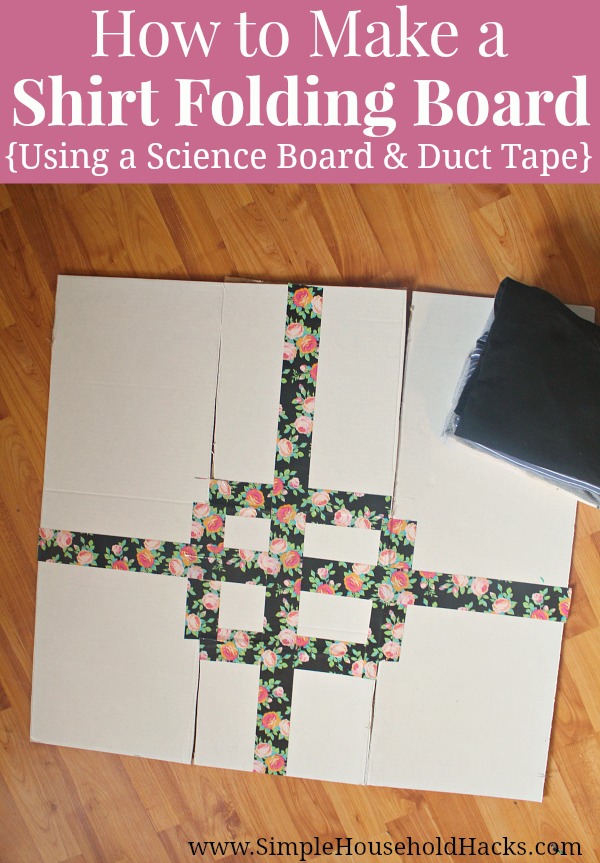
- Place duct tape in a square around the centerpiece, overlapping all the cut seams so each piece is connected like in the photo below.
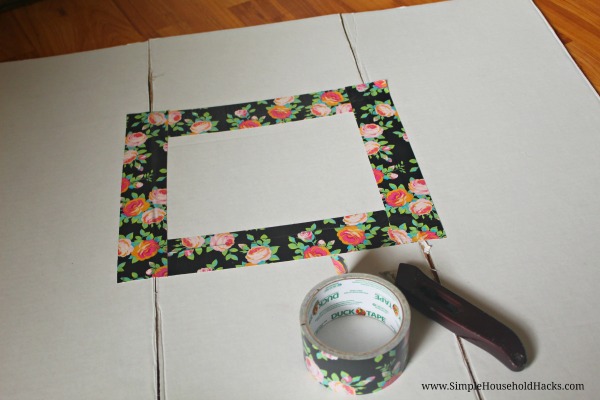
- To make sure your board is secure and sturdy run a piece of duct tape across the center both horizontally and vertically. Notch out the corners so that it still has a total range of movement.
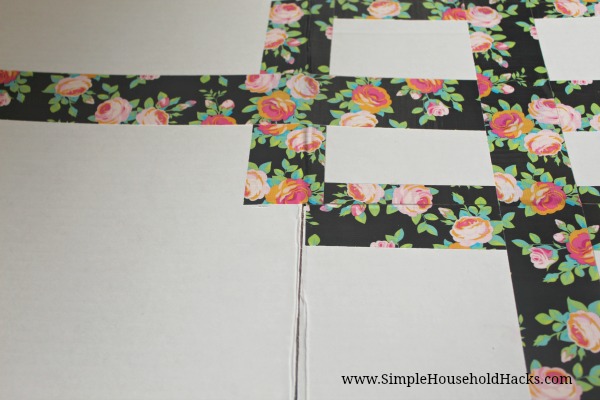
Now that your shirt folding board is ready, use the directions below to put it to use.
How to Use a Shirt Folding Board
1. Center your shirt face down on the board with the shoulders along the top edge, smooth out the wrinkles as you go.
2. Flip one side towards the middle and then the other, folding the arms across the back of the shirt.
3. Fold the bottom flap up toward the center.
4. Finally the top toward the center.
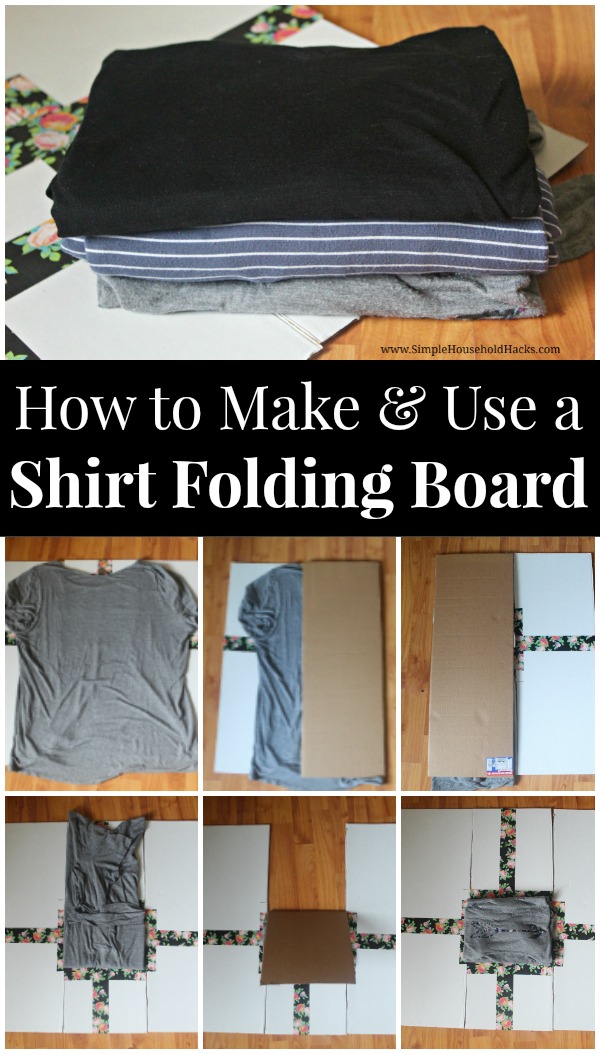
We have a men’s 3xl, a ladies xl, and kids in size 10/12 and 7/8 in my house. This shirt folding board worked well for most of our shirts. However, I think that a smaller one for the kids would be better, so if you have children as young as mine or younger you may want to cut each section of your folding board a little smaller, anywhere from 2″ to 4″ smaller depending on the ages. 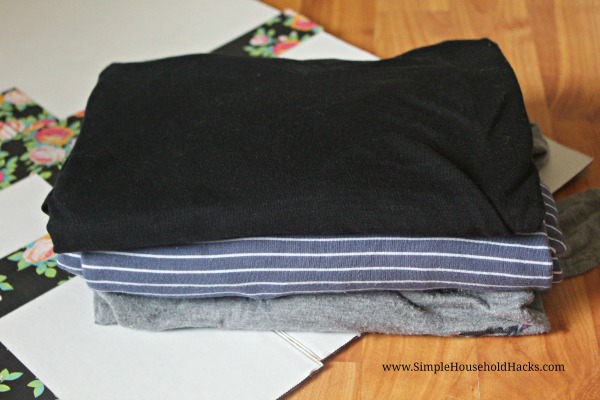
They are so inexpensive to make that you might want to make a few and find a spot for them in the laundry room for all those folding parties your family can’t wait to attend with you…
